Brown Butter Maple Chewy Pumpkin Cookies
Brown butter and maple chewy pumpkin cookies are the autumnal hug you’ve been craving. Imagine sinking your teeth into a cookie that’s not just soft, but wonderfully, decadently chewy, with a flavor profile that sings of cozy evenings and crisp fall air. That’s the magic we’re unlocking today. People adore these cookies because they perfectly capture the essence of pumpkin season, elevated by a few transformative ingredients. What makes these brown butter and maple chewy pumpkin cookies truly special is the alchemy of toasted, nutty brown butter and the rich, deep sweetness of pure maple syrup, which work in harmony with the comforting warmth of pumpkin spice. Forget your average cookie; this recipe is a celebration, a delightful indulgence that will have everyone asking for seconds. Get ready to fill your kitchen with the most non-intoxicating aroma and create a batch of cookies so perfect, they might just become your new go-to fall tradition.
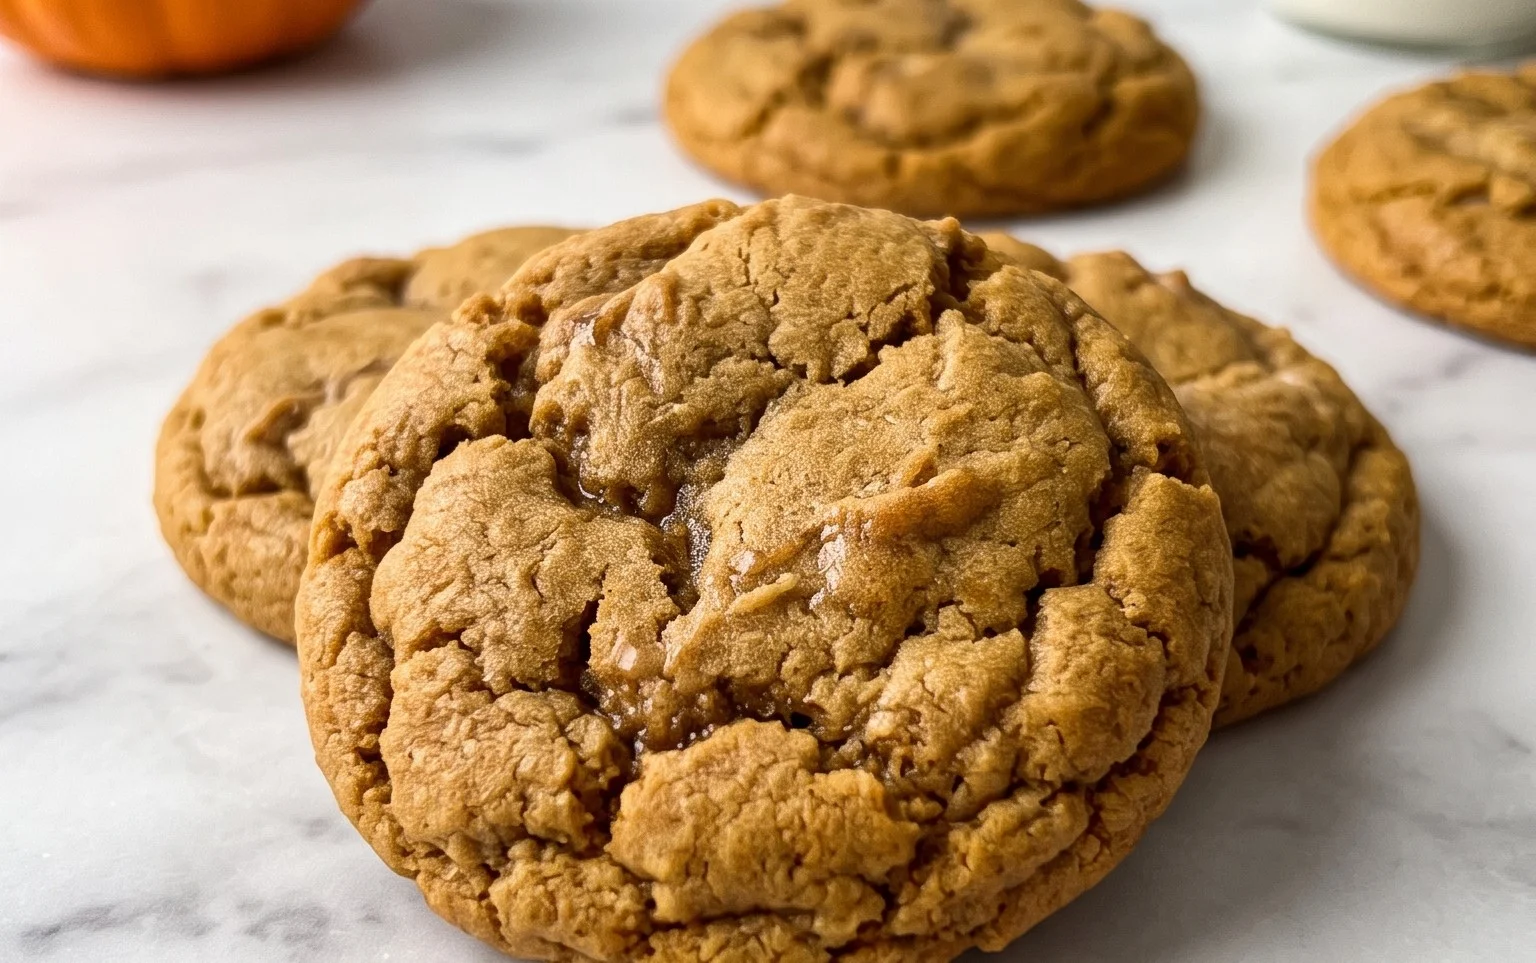
Brown Butter and Maple Chewy Pumpkin Cookies
Get ready to experience pumpkin cookie perfection! These aren’t your average soft and cakey pumpkin cookies. We’re talking about a chewy, deeply flavorful cookie, elevated by the nutty richness of brown butter and the sweet, complex notes of pure maple syrup. The hint of brown sugar and cinnamon sprinkled on top adds that extra touch of warmth and irresistible crunch. If you’re looking for a fall treat that truly shines, you’ve found it. The secret to their incredible texture and taste lies in a few key steps, but trust me, the reward is more than worth it. Let’s get baking!
Ingredients:
- 1 cup (220g) unsalted butter
- 1 1/2 cups (280g) dark brown sugar, packed
- 1 large egg yolk
- 3 tbsp pure maple syrup
- 1 tsp vanilla extract
- 1/3 cup (80g) pumpkin puree
- 2 1/4 cups (280g) all purpose flour
- 1 tsp baking soda
- 1/2 tsp baking powder
- 1/2 tsp salt
- 1 1/2 tsp pumpkin pie spice
- 1/2 tsp cinnamon
- 2 tbsp brown sugar (for topping)
- 2 tbsp granulated sugar (for topping)
- 1 tsp cinnamon (for topping)
Making the Dough
Step 1: Browning the Butter
The foundation of these incredible cookies is brown butter. This might sound fancy, but it’s incredibly simple and adds a depth of flavor that regular melted butter just can’t match. Place your 1 cup of unsalted butter in a light-colored saucepan over medium heat. You’ll notice the butter will melt, then start to foam. Keep stirring or swirling the pan constantly. As the foam subsides, you’ll start to see tiny brown specks forming at the bottom of the pan. This is the milk solids toasting, and it’s where all that amazing nutty flavor comes from. You’re looking for an amber color and a rich, toasty aroma. Be careful not to burn it – once it smells burnt, you’ve gone too far. Immediately pour the browned butter into a heat-safe bowl to stop the cooking process. Let it cool for about 10-15 minutes. It should still be warm, but not piping hot.
Step 2: Creaming and Flavor Infusion
In a large bowl, add the slightly cooled browned butter. To this, add your 1 1/2 cups of packed dark brown sugar. Using an electric mixer (or a sturdy whisk and some arm power!), cream these together until the mixture is light and fluffy, about 2-3 minutes. This process incorporates air, which is crucial for cookie texture. Next, beat in the single large egg yolk. The yolk contributes richness and chewiness. Then, stir in the 3 tablespoons of pure maple syrup and 1 teaspoon of vanilla extract. Mix until everything is well combined. Finally, add the 1/3 cup of pumpkin puree. Mix on low speed until just incorporated. Don’t overmix at this stage. The batter will look a lovely orange hue.
Step 3: Dry Ingredients and Spices
In a separate medium bowl, whisk together your 2 1/4 cups of all-purpose flour, 1 teaspoon of baking soda, 1/2 teaspoon of baking powder, 1/2 teaspoon of salt, 1 1/2 teaspoons of pumpkin pie spice, and 1/2 teaspoon of cinnamon. Whisking these dry ingredients together ensures that the leavening agents and spices are evenly distributed throughout the dough, preventing pockets of salty or bland cookie. Gradually add the dry ingredients to the wet ingredients, mixing on low speed or with a spatula until just combined. Be careful not to overmix; overmixing can develop the gluten in the flour too much, resulting in tough cookies. You’re looking for a thick, cohesive dough.
Chilling and Shaping
Step 4: Chilling the Dough (Crucial for Chewiness!)
This is a step that many people skip, but it’s absolutely vital for achieving that perfect chewy texture. Cover the bowl with plastic wrap and refrigerate the dough for at least 2 hours, or preferably overnight. Chilling allows the flour to fully hydrate, the flavors to meld, and the fat to solidify. This prevents the cookies from spreading too much in the oven and ensures they maintain their structure and chewy goodness. If you’re short on time, even 30 minutes in the freezer can make a difference, but the longer the chill, the better the cookie.
Step 5: Preparing for Baking and Adding the Topping
Preheat your oven to 350°F (175°C). Line baking sheets with parchment paper or silicone baking mats. In a small bowl, combine the 2 tablespoons of brown sugar, 2 tablespoons of granulated sugar, and 1 teaspoon of cinnamon for the topping. This mixture is key to that delightful sweet and spiced crust. Scoop rounded tablespoons of the chilled dough onto the prepared baking sheets, leaving about 2 inches between each cookie to allow for spreading. You can use a cookie scoop for consistent size. Gently press each dough ball slightly with the palm of your hand. Then, sprinkle a generous pinch of the sugar and cinnamon topping over each cookie. This adds a lovely crunch and a beautiful finish.
Baking and Cooling
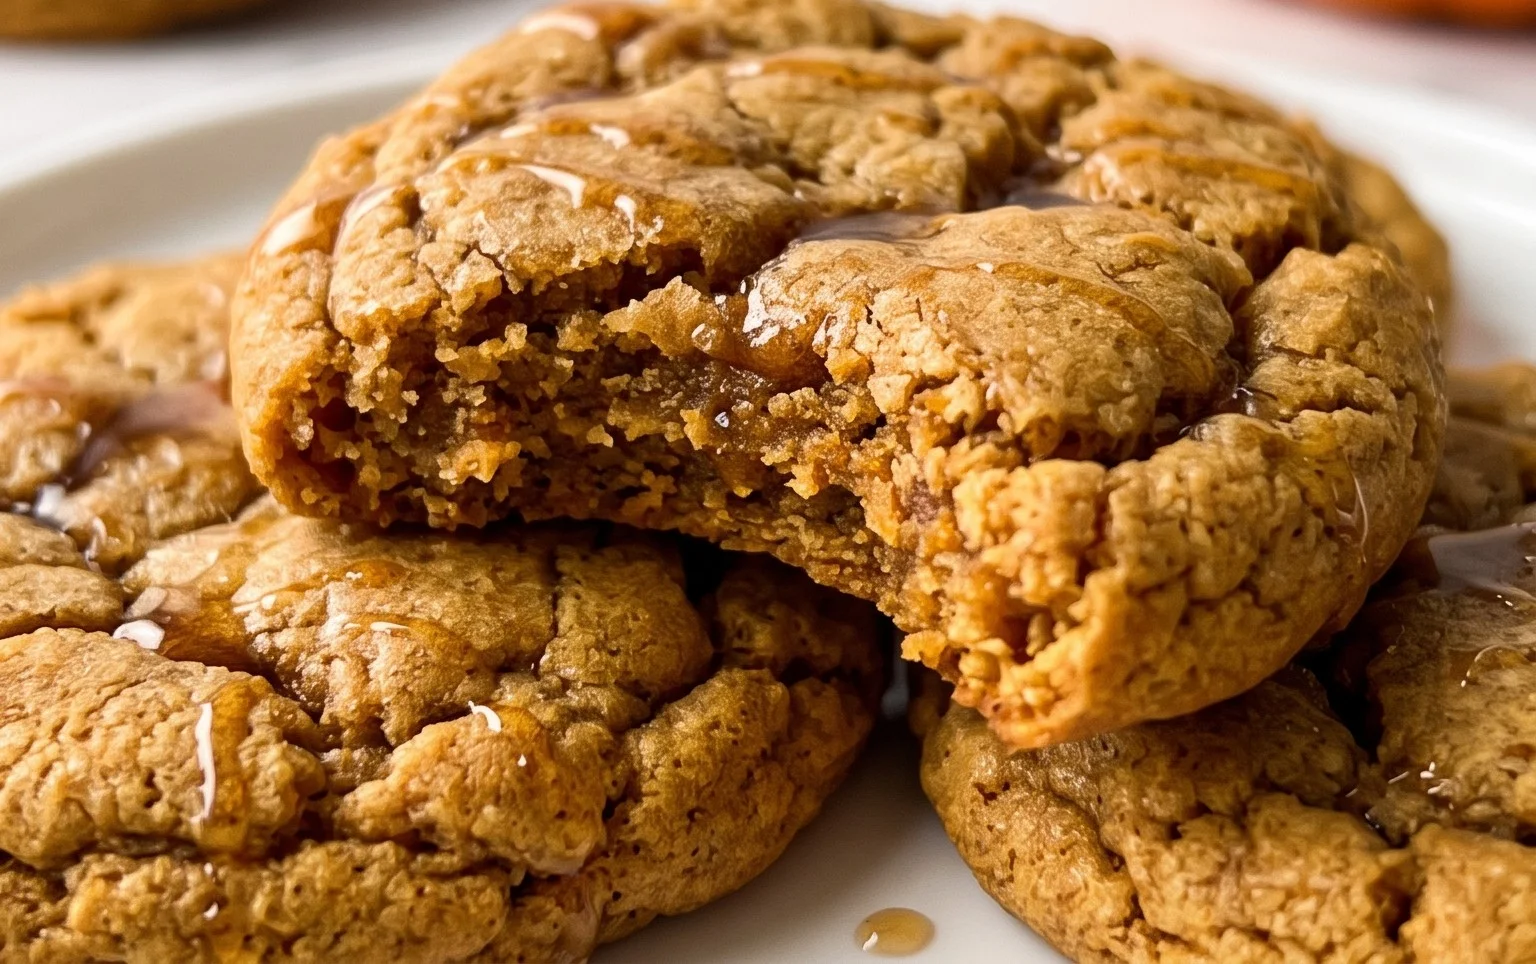
Bake for 10-12 minutes, or until the edges are set and lightly golden brown, and the centers still look slightly soft. They will continue to cook and firm up as they cool. For the chewiest cookies, it’s better to slightly underbake them than overbake. Remove the baking sheets from the oven and let the cookies cool on the sheets for 5-10 minutes before transferring them to a wire rack to cool completely. This allows them to set properly without breaking. Enjoy these decadent brown butter and maple chewy pumpkin cookies with a glass of milk or your favorite warm beverage! They are best enjoyed within a few days, but can also be stored in an airtight container at room temperature.
Conclusion:
And there you have it – a simple yet incredibly rewarding recipe for Brown Butter and Maple Chewy Pumpkin Cookies! The magic truly lies in the browning of the butter, which imparts a deep, nutty richness that perfectly complements the sweet, earthy notes of pumpkin and the warm, caramel-like sweetness of maple syrup. These cookies aren’t just delicious; they’re an experience, offering a delightful chewiness that makes them utterly irresistible. They’re perfect for cozy evenings, holiday gatherings, or simply as a comforting treat to brighten any day. I truly encourage you to give these Brown Butter and Maple Chewy Pumpkin Cookies a try – you won’t be disappointed!
For serving suggestions, these cookies are fantastic on their own, but they also pair beautifully with a cold glass of milk, a warm cup of spiced apple cider, or even a steaming mug of coffee. For variations, feel free to add a handful of chopped pecans or walnuts to the dough for an extra crunch, or sprinkle a little flaky sea salt on top just before baking to enhance all those wonderful flavors. Don’t be afraid to experiment and make them your own!
Frequently Asked Questions:
Q: My brown butter looks a bit too dark, did I burn it?
A: A little darker is okay, but if it smells burnt or has black flecks at the bottom, it might be best to start again. Brown butter should have a rich, nutty aroma and amber color, not a burnt one. It’s a delicate balance!
Q: Can I make these cookies vegan?
A: Yes, you absolutely can! You can substitute the butter with a good quality vegan butter substitute that browns well. For the eggs, you can use a flax egg (1 tablespoon flaxseed meal mixed with 3 tablespoons water, let sit for 5 minutes) or a commercial egg replacer.
Q: How should I store these chewy pumpkin cookies?
A: Once completely cooled, store them in an airtight container at room temperature for up to 3-4 days. They tend to stay wonderfully chewy when stored properly.
Brown Butter and Maple Chewy Pumpkin Cookies
Delightfully chewy pumpkin cookies infused with rich brown butter and sweet maple syrup, finished with a sprinkle of crunchy sugar.
Ingredients
-
1 cup (220g) unsalted butter
-
1 1/2 cups (280g) dark brown sugar, packed
-
1 large egg yolk
-
3 tbsp pure maple syrup
-
1 tsp vanilla extract
-
1/3 cup (80g) pumpkin puree
-
2 1/4 cups (280g) all purpose flour
-
1 tsp baking soda
-
1/2 tsp baking powder
-
1/2 tsp salt
-
1 1/2 tsp pumpkin pie spice
-
1/2 tsp cinnamon
-
2 tbsp brown sugar
-
2 tbsp granulated sugar
-
1 tsp cinnamon
Instructions
-
Step 1
Melt the butter in a light-colored saucepan over medium heat until it turns golden brown and smells nutty. Pour into a heatproof bowl and let cool slightly. -
Step 2
In a large bowl, whisk together the browned butter and packed dark brown sugar until well combined. -
Step 3
Stir in the egg yolk, maple syrup, vanilla extract, and pumpkin puree until smooth. -
Step 4
In a separate bowl, whisk together the all-purpose flour, baking soda, baking powder, salt, pumpkin pie spice, and cinnamon. -
Step 5
Gradually add the dry ingredients to the wet ingredients, mixing until just combined. Do not overmix. -
Step 6
Chill the dough for at least 30 minutes. -
Step 7
Preheat oven to 350°F (175°C). Line baking sheets with parchment paper. -
Step 8
Roll dough into 1.5-inch balls and place on prepared baking sheets. In a small bowl, combine the 2 tbsp brown sugar, 2 tbsp granulated sugar, and 1 tsp cinnamon. Sprinkle this mixture over the top of each cookie ball. -
Step 9
Bake for 10-12 minutes, or until the edges are set and the centers are still slightly soft. Let cookies cool on the baking sheets for a few minutes before transferring to a wire rack to cool completely.
Important Information
Nutrition Facts (Per Serving)
It is important to consider this information as approximate and not to use it as definitive health advice.
Allergy Information
Please check ingredients for potential allergens and consult a health professional if in doubt.